View larger version:
Download Original File
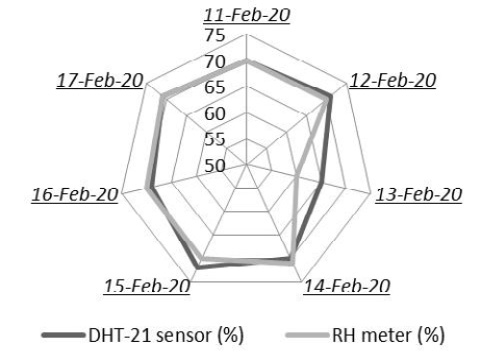
Figure 10:
RH comparison for tunnel 2.
